Oh. My. Goodness. It seems like just YESTERDAY I was writing LAST YEAR'S
birthday post.
AM I REALLY GETTING THAT OLD THAT FAST. STAAHHHP.
Anyways, I know it's kinda weird to post this when my birthday was more than two weeks ago. But, you know how life is. For one: I couldn't get any good sunny days to take my pictures, Two: my camera stopped working for some reason and it took me awhile to figure out what was wrong with it, and Three: I got sick in the middle of it all.
So yeah.
Here's the post I promised over two weeks ago...enjoy.
*~*~*~*~*~*
My birthday was quite a fun time this year.
I love antique stores and thrift stores (as you may have been told), so on January 21st, I devoted an entire day to explore those stores in my area. We went to a lot of places, and I had no idea my city even HAD that many second hand stores.
But it did.
 |
| Image Credit: vodkacupcakes.tumblr.com |
Before I begin, I just want to clarify that when I show you guys my presents and stuff, I'm not really in the mindset of 'here I am, look at my stuff... give me attention', because I don't think Christ is behind that sort of thinking.
Possessions do NOT satisfy the need in a person's life that only Christ can fill.
I only want to share because birthdays are SO fun and I like to
write haul posts as much as I like to
read them. And I thought you guys might enjoy reading about my pickings. :)
So anyways.
I also bought a few birthday gifts for myself (because... why not) so I'm tossing them in here as well.
Lastly, be warned that this post turned out slightly longer than I intended, so bare with me. :)
Enjoy!
*~*~*~*~*~*
1. Book: Hidden Places
By the time I'm actually writing this post, I've already finished this book. So, I can tell you that THIS IS A GREAT BOOK. SO GO AND READ IT.
I think Lynn Austin has established herself as one of my favorite authors now. She just writes. so. good.
2. Book: Eve's Daughters
I was thrilled to find this book at the thrift store for 50 cents. I'm not quite finished with it yet (although I'm reading it night and day...), but I'm LOVING IT so far. It's a lot like Hidden Places, actually, but with different settings/times and such.
But I love the characters and I think I must confess that there MAY or MAY NOT have been a time where I cried a little... while I was sick... and while I had eye makeup on... and was a mess thereafter.
Thanks, Austin.
3. Book: Daddy Long Legs
Haven't started this one yet, but it LOOKS interesting and it was recommended to me and the cover is adorable... (why did I just think of Moriarty when I typed 'adorable'...? I think I've watched too much Sherlock lately... oh, wait. There's NO SUCH THING.)
Hem.
How did I get off subject so easily...
4. Book: Fascinators
I don't know if any of you have noticed from my
Pinterest profile that I have been a little obsessed with hat-making lately, but I definitely am (I already have more tulle and flowers than I know what to do with...). I've only just begun, but I'm trying to learn more so I can make hats to sell, and it's been a jolly good time so far.
So when I saw this book at
Jo-Ann's, I had to add it to my birthday list. There are some very advanced as well as beginner projects in here, and I can't wait to get going on some of them. :)
5. Urban Decay Naked2 Eyeshadow Palette
I have been 'eyeing' this palette for a long time now (pun intended). Not many people know this, but I am rather in love with eyeshadows. They are just SO FUN to work with, and since I've been getting better at them lately (or at least
pretending to get better at them...), I decided to invest in a nicer palette, and I do
not regret that decision at all.
The colors are lovely neutral shades (I just adore neutral/natural makeup) and extremely pigmented and pretty. I only wish that the palette had more matte shades. Most of them are shimmers, which I
like, of course, but I just love matte eye shadow to bits and pieces.
That other smaller eyeshadow single is 'midnight cowboy', another little tidbit I picked up from Urban Decay.
6. Nyx Avant Pop Nouveau Chic Eyeshadow Palette
I know, I know. One more palette. I just love Nyx Cosmetics because not only are they affordable, but they have such nice quality products. Their eyeshadows are quite pigmented, so I couldn't resist picking up this pretty little palette for a birthday present to myself. :)
 |
| I love the mixture of neutrals and colors. |
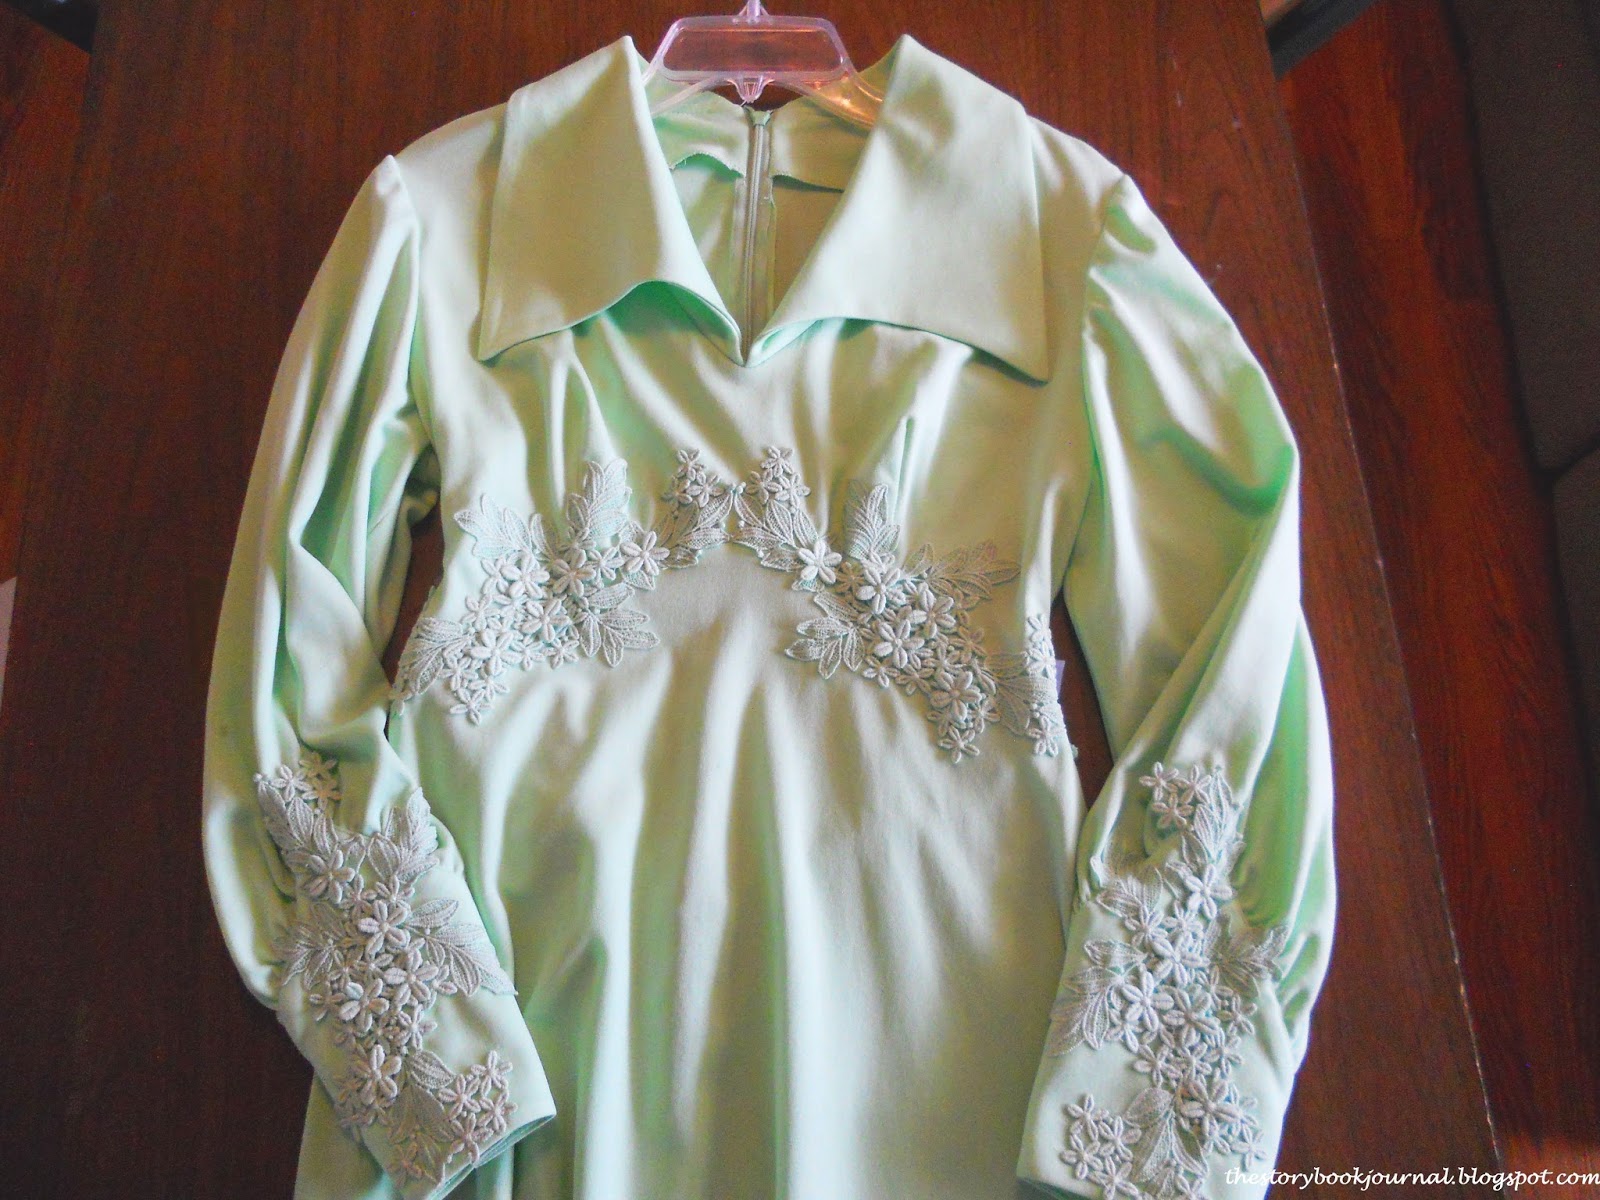
7. Green Dress
One of my favorite feelings in the world is when I find a dress at the thrift store or the antique store that actually
fits and looks
good. I was so excited to find this dress. I couldn't get a good full-length picture of it, but it comes down to my ankles (and I'm kinda tall).
I really like the details and it has the most elegant look when it's put on. I'm going to make a few accessories to go with it (such as a hat. :) ), and I think I'll wear it to the next English Country Dancing ball. :)
I think I love the sleeves the most. They are so flow-y and puffy. :) Anne Shirley would be proud. #MarillaLookAtThePuffs
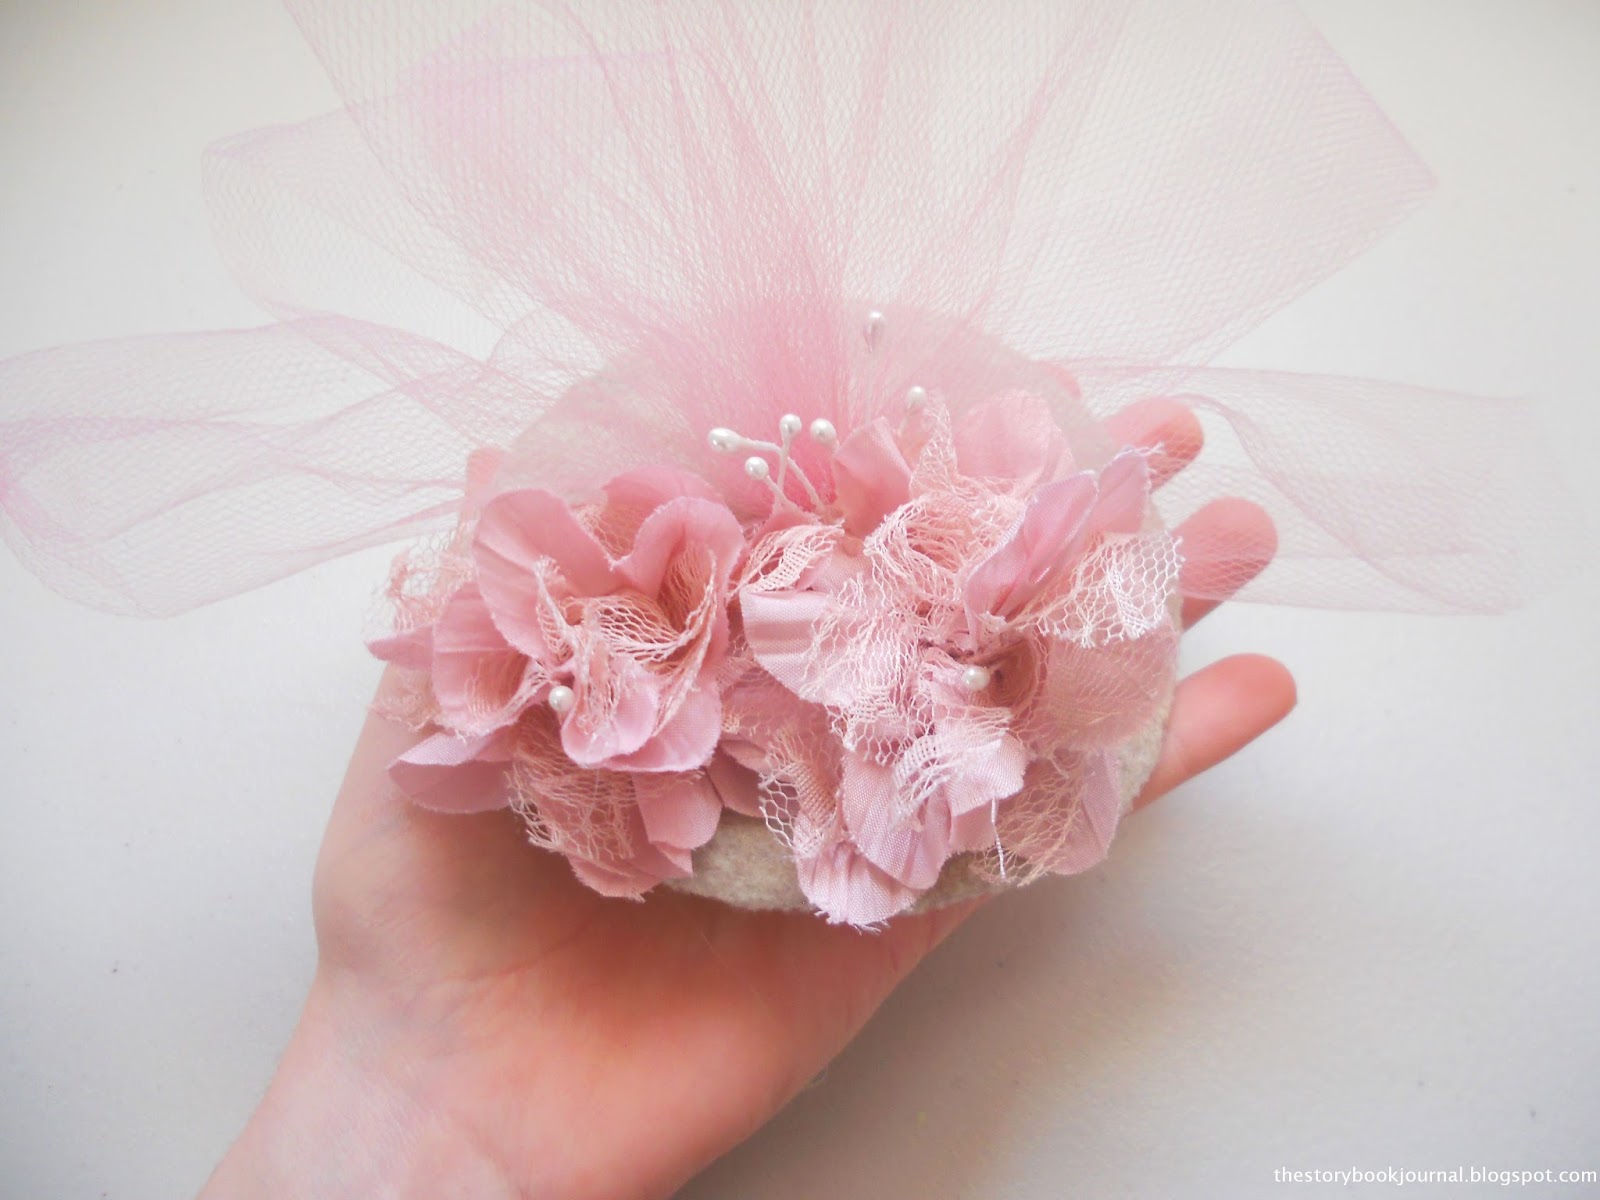
8. Hat with Tulle & Flowers
I think the tulle is what made me buy this hat. I just love the way it gives the whole hat a soft look. I am trying to decide if I should 'upcycle' this hat somehow, because I think it's pretty the way it is but I also feel like It's missing something. : / Maybe I could just replace the flowers.
I don't know. :P What do you all think?
9. Vintage Bracelet
I really liked the look of this bracelet, even though it is slightly too big for my wrists. I might adjust it sometime.
But I just loved the very old, almost Regency, look that it has. :)
It kind of makes me think of The Scarlet Pimpernel for some reason. :) #BookINeedToReadAgain
10. Pins
I love collecting little pins (or brooches, whatever you want to call them) because they're not very expensive and there are so many cute and pretty ones out there. :)
Plus you can wear them with your own outfits to instantly dress it up or make it vintage looking!
 |
| For perspective, that round one is about the size of a quarter. |
11. Vintage Piggy
Look. at. this. piggy. LOOK AT IT.
I have no idea why I picked this little guy up. I just saw him, and he was ADORABLE (Oh, Moriarty again...) and soft and even though he was quite old, he was still in like-new condition, with the tags and everything! So he wasn't grimy or gooey or icky like SOME used stuffed animals tend to be.
He is super soft (I keep saying 'he' but it could be a 'she'...) and heavy, being filled with sawdust, which gives him a very comfortable feeling. I love him so much. The people at the antique store laughed at me when I said, "This is weird to say, but I think I'm most excited about the pig."
One does not find a pig stuffed with sawdust every day...
He also had this super adorable onesie thing on, but I took it off to see what he looked like in his birthday suit...
I just love the adorable 'sleepy' face.
Ok, why is the stuffed pig getting the most pictures?!
Moving on...
12. Beaded clutch
I found several of these clutch/baggie things for a large array of different prices. I finally found one I liked for cheap: $2. I love how it has a nice weight to it. It's almost heavy, which gives me the idea that it's a quality product. *shrug* But how would I know?
13. Oxford Heel Shoes
I'll have you know that I rarely, RARELY,
RARELY wear black. Like, never. Not at all. That doesn't mean I don't LIKE black, it just doesn't GO with me, or anything I do.
Deep down inside of me, I think there's apart of me that likes black and darkness (not EVIL darkness, but just darkness)., which probably comes from the same part of me that loves stars and moons and stuff.
BUT ANYWAYS.
I don't wear black, but I FOUND THESE SHOES. And they were adorable. And they were vintage-looking. And
yes they were black, but...
I got them.
I don't really like the laces, though. They kind of look scraggly and twisty and unattractive. I was thinking of putting some black lace ribbon through the holes instead.
14. Beaded Collar
I 'm not sure when I'll actually wear this. There's no way to fasten it in the back, although I suppose I could attach a ribbon back there or something. We'll see what I end up doing. :)
I just loved the details with the trimming. :) The beads are so nice. At the same place they had some lace collars too, but they were like $30 apiece for some reason. :P
15. Blue Vase
I'm not sure what I'm going to put in this vase yet, but right now it's just sitting for decoration on my bookshelf. :)
*~*~*~*~*
Well, there you have it! I hope you're having a good day. If it's your birthday, then happy birthday. If it's not, then have a good day. :) ACT like it's your birthday.
I hope you are enjoying Valentine's season. I sure am.
I hope you don't mind that I seem to have taken a liking to hashtags. If you don't like hashtags (even I used to think they were annoying), then I'm sorry. #itried
-Amaris